
Getting Accessible Bays Right to AS 2890.6
Compliance · 29 Sep 2026
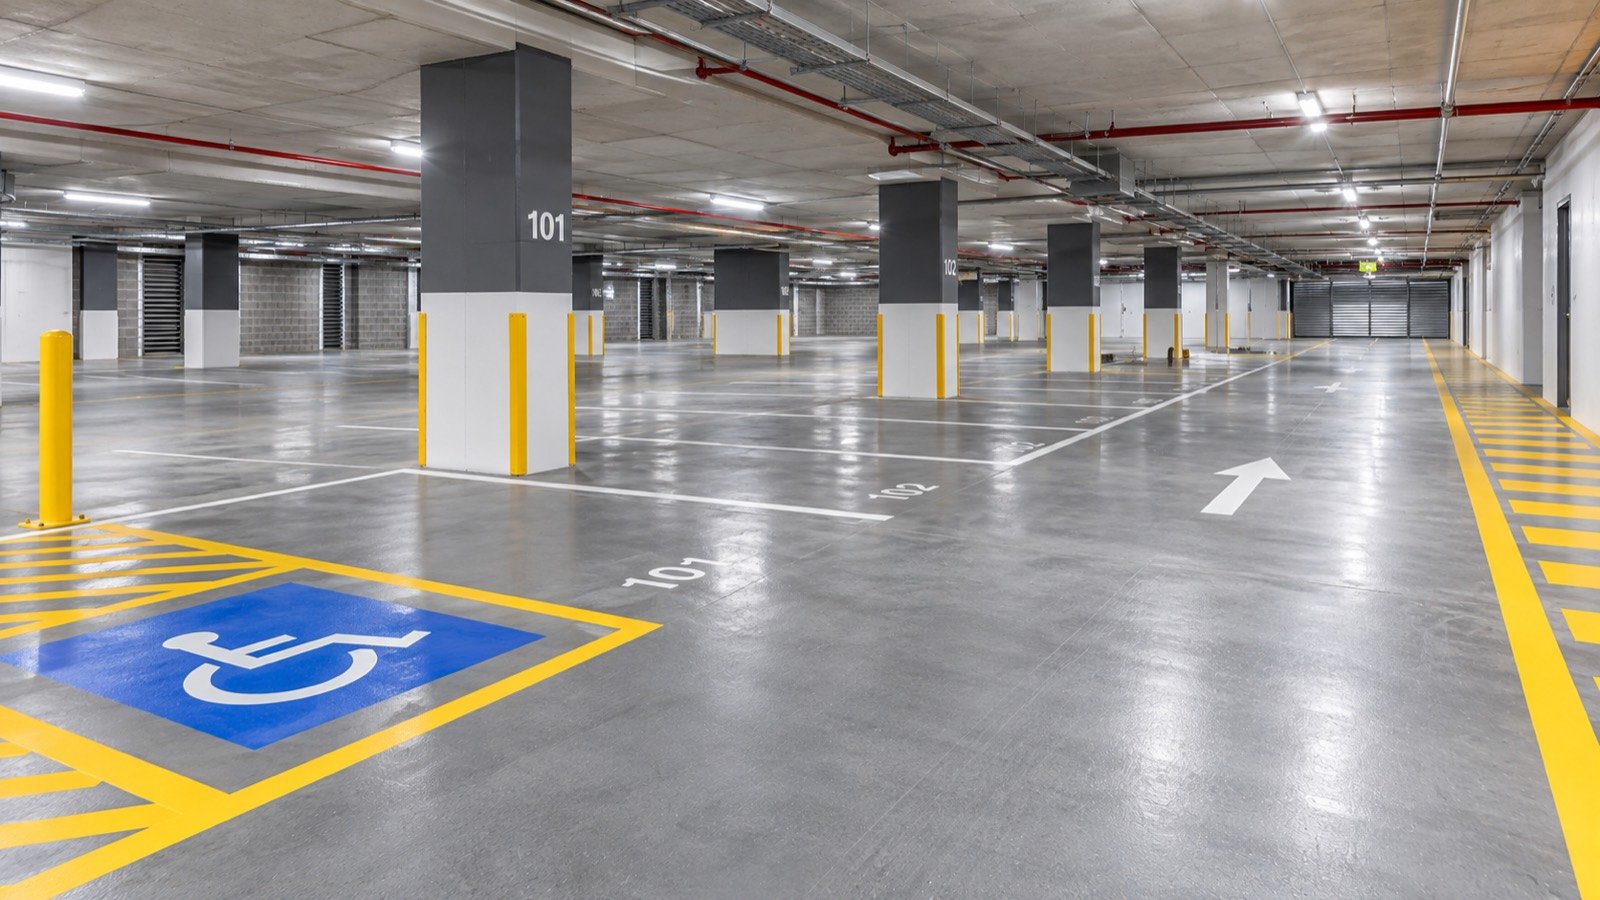
Accessible parking bays are one of the most common reasons a car park fails a final inspection. The markings look simple, but the standard is specific about size, the shared area beside the bay, headroom and slope. Getting it wrong usually means grinding off fresh paint and doing it again.
The standard that covers this is AS/NZS 2890.6 – Off-street parking for people with disabilities. How many accessible bays you need comes from the National Construction Code and your development consent, not from 2890.6 itself. Here are the points that trip people up most.
1. The bay and the shared area are two different things
An accessible space is a dedicated bay plus a shared area next to it. The shared area gives room to open a door fully and get a wheelchair in and out. The standard sets both at 2400 mm wide by 5400 mm long. Two accessible bays can share one shared area between them, which saves space.
The most common mistake is marking a normal 2400 mm bay with a wheelchair symbol and no shared area. That doesn't comply.
2. Stop cars parking in the shared area
Drivers will park in an empty striped space if nothing stops them. The standard calls for a bollard in the shared area to prevent this, and the area itself is marked out so it clearly isn't a parking space.
3. Headroom is higher than the rest of the car park
Accessible spaces and their shared areas need at least 2500 mm of clear headroom, more than the 2200 mm typical elsewhere in a car park. The extra height allows for vans with roof-mounted wheelchair hoists. In basements, pipes, ducts and sprinkler heads often fall below this. Check before you paint, because moving a bay later means re-marking a whole row.
4. The floor has to be nearly flat
The bay and shared area must be close to level, with a maximum fall of about 1 in 40 (2.5%) in any direction. That's so wheelchairs don't roll while someone is transferring. Ramped or sloping sections of a car park are the wrong place for accessible bays, whatever the drawings say.
5. Symbols and signs
Each dedicated bay carries the International Symbol of Access on the pavement. Most sites also need an upright sign so the bay can be seen when a car is parked in it. Use a durable line-marking paint and prepare the surface properly, because symbols in the driving path wear quickly.
6. Location matters
Accessible bays should be the ones closest to the accessible entrance or lift. There should be a continuous accessible path from the shared area to that entrance. The path must not cross behind other parked cars.
Before you mark
- Confirm the number and location of accessible bays on the approved plans.
- Measure headroom over every proposed bay and shared area.
- Check the floor slope with a level, not by eye.
- Set out the full 2400 mm bay and 2400 mm shared area before painting.
- Allow for bollards and signs in the budget.
We set out and mark accessible bays as part of our car park line marking work, and we measure headroom and slope before the paint goes down.
This is a summary for planning purposes, not a copy of the standard. Always work from the current edition of AS/NZS 2890.6 and your approved plans. Your certifier has the final say.
Want a price for your floor?
Call 0470 347 292 or send us a few photos and we'll come back with a quote.
Free quote ↗More advice
- Concrete Resurfacing Cost in Sydney: Driveways, Paths & Pools
- Driveway Resurfacing: Is It Worth It? A Sydney Guide
- Pool Surround Resurfacing: Options, Colours & Costs
- Epoxy Flake vs Solid Colour: Which Floor Is Right for You?
- Can You Use Epoxy Outdoors? Why We Use Spray-Crete Outside
- Warehouse Line Marking: Planning Aisles, Walkways & Bays
- Epoxy Garage Floors: A Sydney Homeowner’s Guide
- Bunnings Epoxy Kit vs a Professional Garage Floor
- Epoxy Flooring Cost in Sydney: 2026 Price Guide
- Is an Epoxy Garage Floor Slippery? What Actually Helps
- Can You Epoxy Over Tiles? What Has to Happen First
- What a Food-Safety Auditor Checks in Your Kitchen Floor
- Coating a Live Warehouse Without Stopping Work